How Foil Stamping Works: Step-by-Step Guide
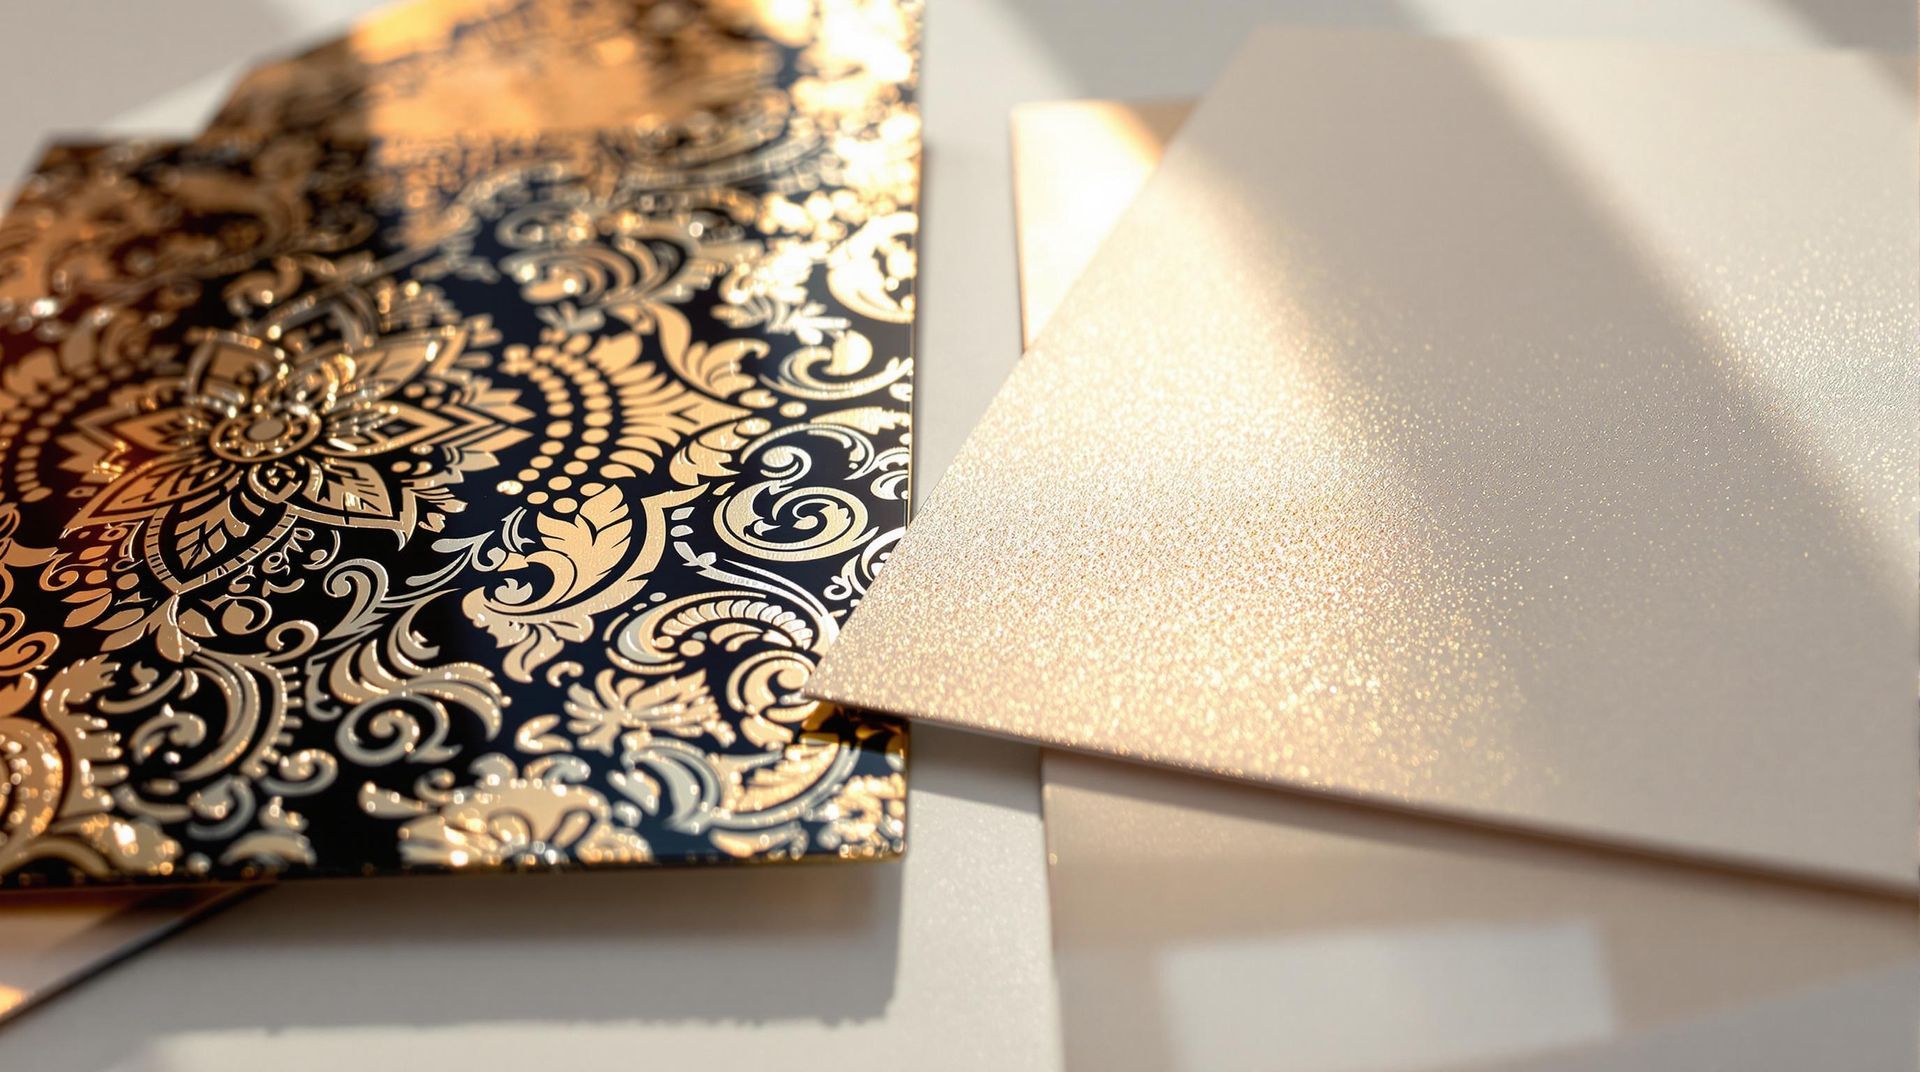
Foil stamping is a printing method that uses heat and pressure to apply metallic or colored foil onto materials like paper, cardboard, leather, and plastics. It’s commonly used for luxury packaging, business materials, and special event items to create eye-catching, reflective designs.
Key Steps in Foil Stamping:
- Design Preparation: Use vector-based software, outline text, and keep designs simple.
- Die Creation: Choose brass (durable), magnesium (budget-friendly), or copper (versatile) dies.
- Foil Application: Heat the die, place foil between the die and material, and apply pressure.
- Quality Inspection: Check for smooth transfer, alignment, and consistent results.
Tips for Best Results:
- Use coated materials for smoother finishes.
- Test settings like temperature and pressure before full production.
- Partner with experienced printers for complex designs or large-scale jobs.
Foil stamping adds a polished, metallic finish to designs, making them stand out with precision and elegance.
Step-by-Step Guide to Foil Stamping
Step 1: Preparing the Design
Start by creating your design using vector-based software like Adobe Illustrator for sharp and accurate results. Key steps in this process include:
- Converting all text to outlines
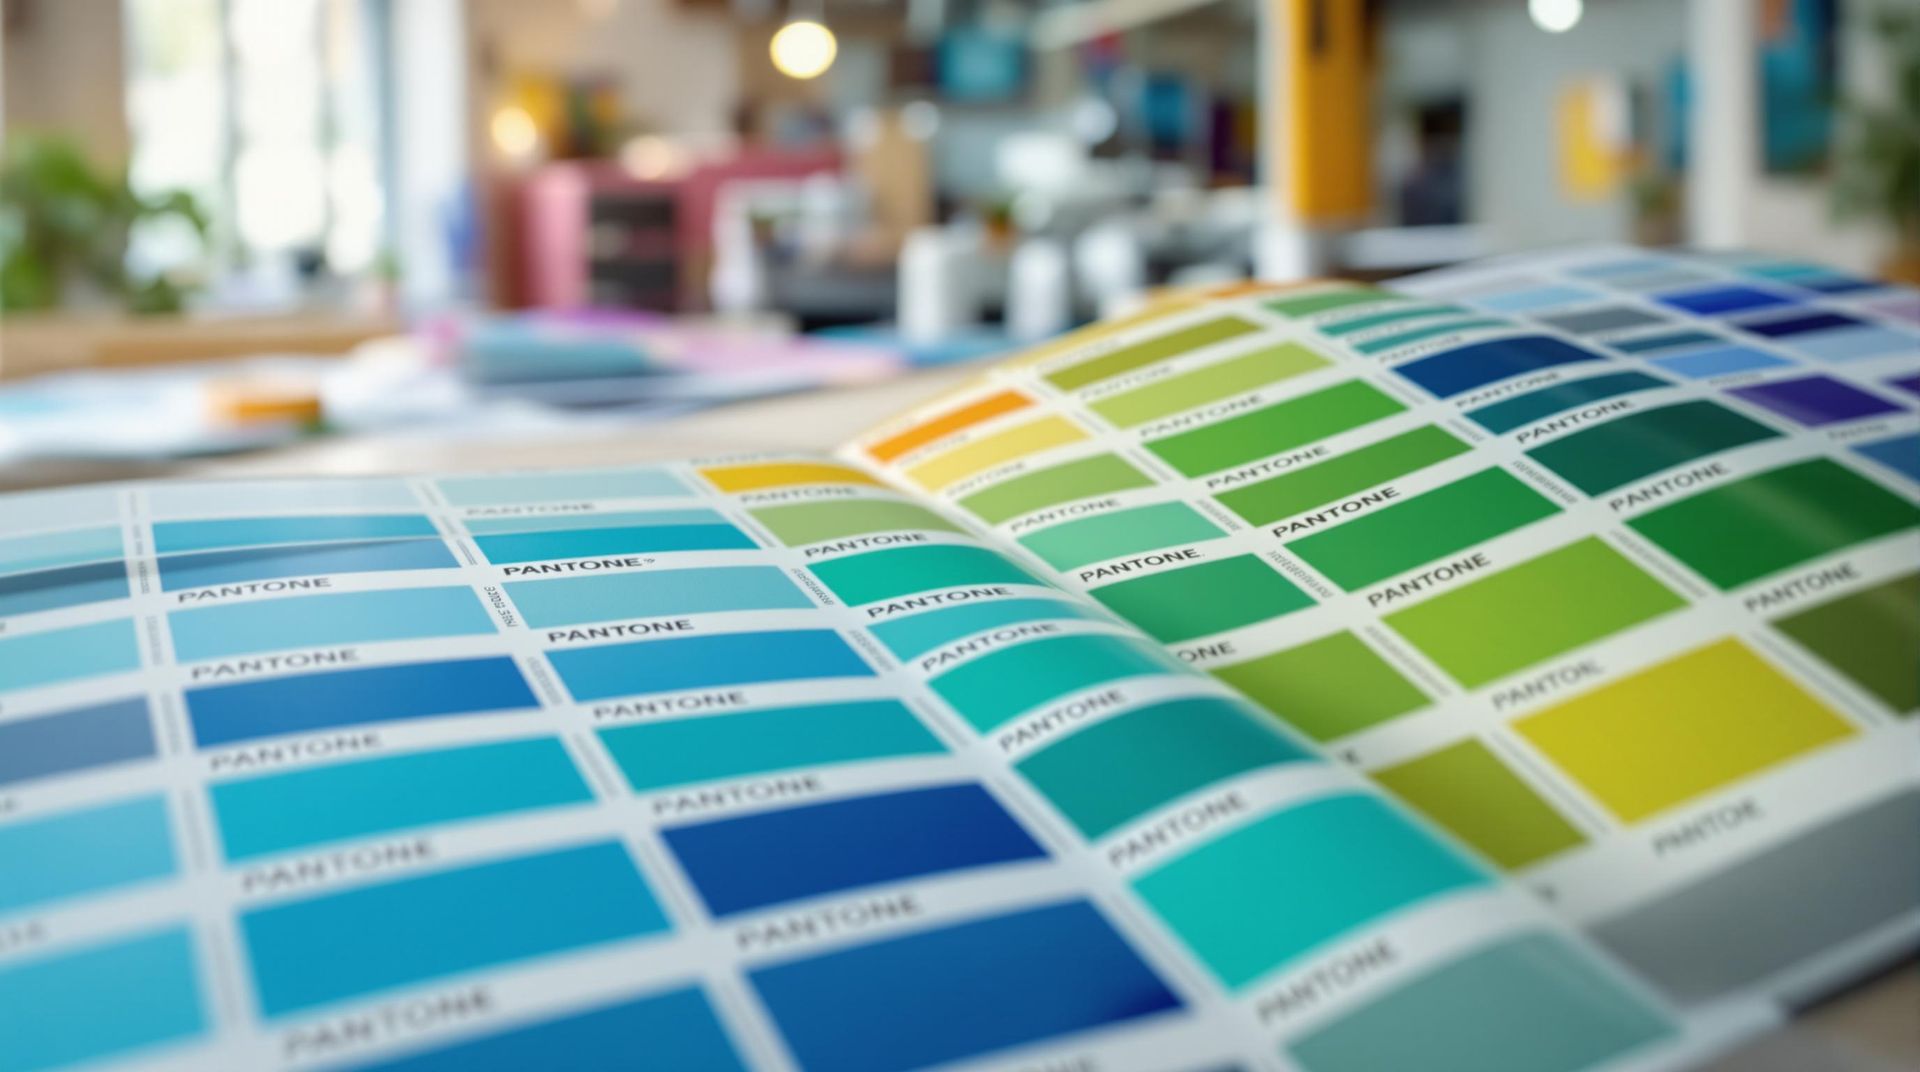
- Assigning spot colors to areas meant for foil
- Ensuring text is at least 8 pt for readability
- Avoiding overly detailed elements that could clog during production
Step 2: Making the Die
The die plays a crucial role in achieving top-notch results. The material you choose depends on your project needs:
- Brass : Durable and ideal for long production runs
- Magnesium : A budget-friendly option for shorter runs
- Copper : A versatile choice for medium-sized runs [4]
Step 3: Applying the Foil
This step involves heating the die to the right temperature, placing the foil between the die and the material, and applying just the right amount of pressure. Proper temperature control is essential for a smooth transfer and to prevent damage [1] . Skilled handling ensures consistent results [2] .
Step 4: Inspecting the Final Product
Quality checks are essential to ensure a polished finish. Focus on:
- Smooth and accurate foil transfer
- Even coverage throughout the design
- Proper alignment with other printed elements
- Clearing any excess foil
- Consistency across the entire batch
Thorough inspection helps you deliver a flawless product, but it all starts with careful planning and the right materials [1] [2] .
Tips for Getting the Best Results with Foil Stamping
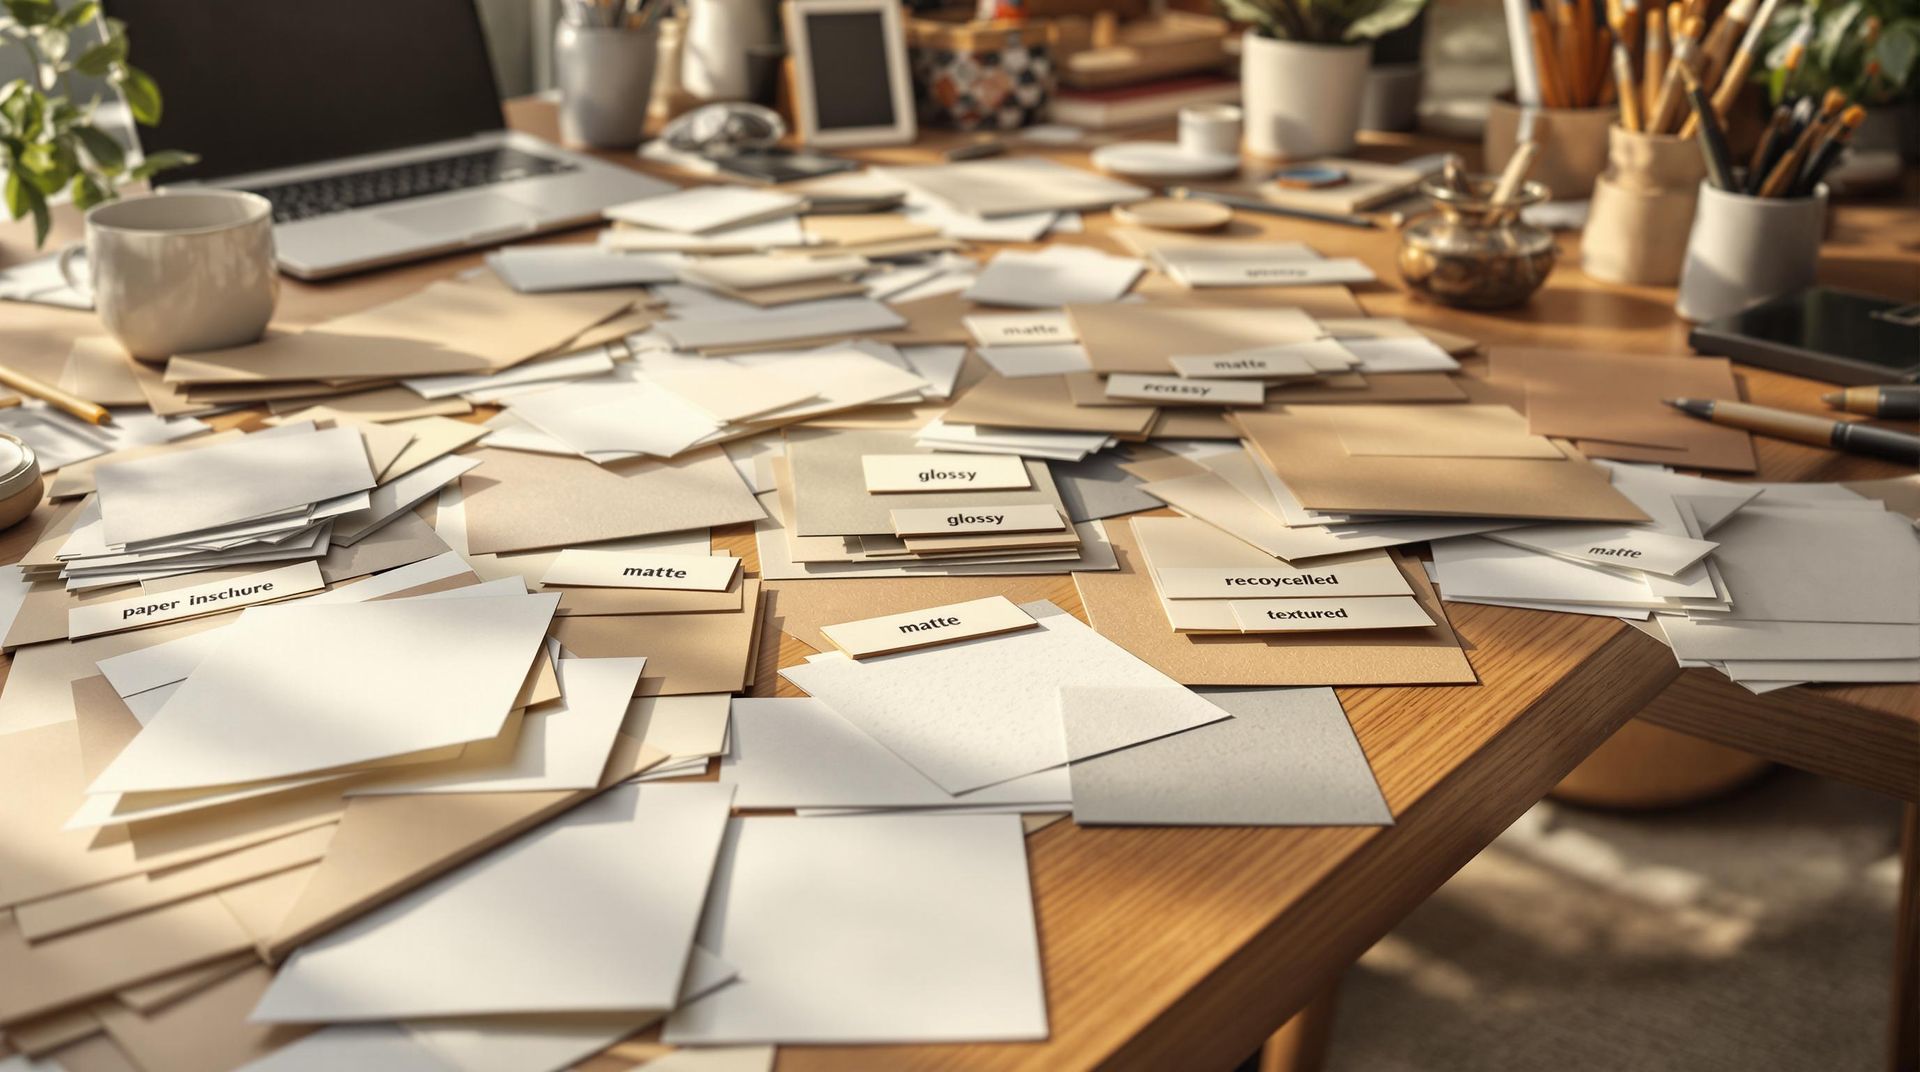
Choosing the Right Materials
The success of foil stamping starts with picking the right materials. Coated stocks are ideal for paper and cardboard projects because their smooth surface works well with foil. Metallic foils add a shiny finish, matte foils offer a more understated look, holographic foils create eye-catching effects, and pigmented foils provide solid color coverage. After selecting your materials, running thorough tests is key to achieving the best results.
Testing Before Final Production
Running small tests is crucial to fine-tune settings like temperature, pressure, and material compatibility. These tests help you avoid common issues and ensure:
- Proper heat settings for foil adhesion
- Correct pressure levels
- Compatibility between the foil and the material
If problems come up during testing, collaborating with experienced printers can help you find effective solutions.
Working with Experienced Printers
Partnering with professional printers can make a big difference in your foil stamping project. Companies like Miro Printing & Graphics Inc. have the expertise to refine designs, select the right materials, and execute precise stamping techniques. Their knowledge ensures high-quality results and consistent production.
Experienced printers also provide access to advanced equipment and can handle a variety of materials and designs. They can offer valuable guidance on improving designs and resolving technical issues, helping you achieve the best possible outcome [1] [2] .
Related video from YouTube
sbb-itb-ce53437
Common Problems in Foil Stamping and How to Fix Them
Even with top-notch materials and techniques, challenges can pop up during foil stamping. Here’s how to tackle them head-on.
Avoiding Too Much Foil Application
Excess foil can be a frustrating issue for printers. Opting for adhesive-backed foils designed for precise use can help create strong bonds without wasting material.
To get clean, polished results:
- Keep your temperature and pressure settings consistent – adjust them based on your foil type and material thickness.
- Clean your die regularly to avoid foil buildup that can interfere with quality.
- Monitor adhesive performance during production to maintain steady results.
For intricate designs, steer clear of type sizes smaller than 8 points. Smaller sizes tend to cause plugging and foil buildup, which can ruin the final look [4] .
While calibration plays a big role in preventing over-foiling, ensuring proper alignment is just as important for professional-quality results.
Solving Misalignment Problems
Misalignment often happens due to poor die preparation or uneven material surfaces. To keep everything in line during the stamping process:
- Set up a stable base. Use a large, sturdy foundation for your machine and make sure all parts are securely in place. Stability is key for consistent alignment across multiple runs [3] .
- Prepare your die carefully. Accurate guides are essential for proper die positioning. Regular maintenance and correct storage can also prevent warping, which might cause alignment issues [1] .
- Implement quality checks. Inspect die alignment, substrate evenness, and registration marks both before and during production.
If you notice misalignment, stop production immediately to adjust your setup. Print shops like Miro Printing & Graphics Inc. rely on thorough quality control checks to spot and fix alignment problems early, ensuring they don’t disrupt large-scale projects [1] [2] .
Conclusion
Foil stamping adds metallic finishes to designs through careful planning, the right materials, and precise execution. As covered earlier, success depends on using vector-based artwork, selecting the appropriate foil, and applying it with care [1] [5] .
Modern automated controls enhance consistency in commercial foil stamping, ensuring proper adhesion and reducing errors. For intricate designs or large-scale production, working with experienced print shops can make a big difference. Companies like Miro Printing & Graphics Inc. excel in this area, offering in-house design expertise and thorough quality checks to avoid costly mistakes and deliver top-tier results [2] [6] .
Foil stamping demands both technical skill and hands-on experience. While small projects might be doable in-house, more complex or high-volume jobs often benefit greatly from professional help. Investing in expert services typically ensures consistent, polished results that align with strict quality expectations [5] [6] .
FAQs
Here are clear answers to frequently asked questions about foil stamping, summarizing key points from the article.
What is the process of foil stamping?
Foil stamping involves using heat and pressure to transfer metallic foil onto a surface. A heated metal die presses the foil carrier film onto the material, typically at temperatures between 200-300°F, creating a metallic imprint [1] [2] .
What materials are suitable for foil stamping?
| Material | Details |
|---|---|
| Paper | Great for business cards and invitations; works best with 80lb or heavier paper. |
| Cardboard | Commonly used for packaging and book covers; requires specific pressure settings. |
| Leather | Popular for luxury items like portfolios; needs precise temperature control. |
| Plastics | Ideal for premium packaging; requires specialized foils for proper adhesion. |
How can I achieve the best results with foil stamping?
Use vector-based artwork created in professional design tools. Keep text sizes at least 8 pt and avoid overly detailed designs to ensure clean transfers. Proper spacing between elements helps prevent transfer issues like bleeding [4] [6] .
What are common issues with foil stamping?
Some common problems include:
What types of foil finishes are available?
Foils come in various finishes, including:
For more detailed instructions, refer to the step-by-step process and tips shared earlier in the article.
Related posts